
Good motion graphics deserve good audio, but leveling a voiceover by hand is tedious: you drag the audio levels slider, scrub back, listen, adjust again, and still end up guessing whether it matches what everyone else publishes. AEJuice’s Normalize Volume removes that whole loop. It’s an AI tool that sets your dialogue to a broadcast-standard loudness in a single click.
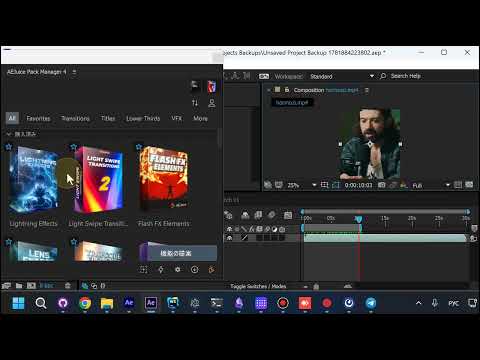
Here’s the full workflow.
1. Pick Normalize Volume from the AI tools
Open the AEJuice panel over your composition and open the menu of AI tools. Alongside Auto Subtitles, AI Highlight, and the rest, you’ll find Normalize Volume. Select it with your voiceover clip in the comp.
2. One click normalizes the loudness
Normalize Volume analyzes the dialogue and sets the loudness automatically. In this example the raw clip comes in at -6.1 dB and gets brought to -23 LUFS, the loudness target you want for publishing. A confirmation tells you exactly what changed.
3. Consistent loudness, ready to publish
The result lands on your audio layer: the dialogue now sits at a consistent, broadcast-ready loudness. No audio plugins, no manual leveling, no back-and-forth.
Why it matters
Inconsistent voiceover levels are the fastest way to make a polished edit feel amateur. Letting the AI set a standard loudness every time means your narration is consistent across clips and ready for YouTube, courses, or client delivery the moment you render.