
If you work with multiple clients or different video formats, presets let you flip between complete Auto Captions setups in one click. Here’s the full workflow — switching, saving, renaming, duplicating, and using the built-in presets.
Open the Preset Dropdown
Every setting below the Preset field belongs to that preset. Default is loaded when you open Auto Captions.
Change a Value to Make It Custom
The moment you change any default value — Language, Audio source, Position, anything — the preset becomes “Custom” and a Save as new button appears.
Save as New Preset
Name the preset (e.g. “Customer 1”) and hit Save. Every setting is stored under that name.
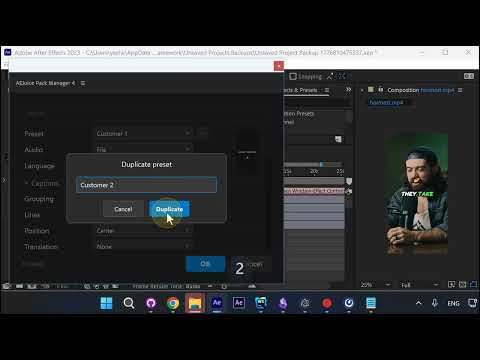
The ... Menu: Rename, Duplicate, Delete
Next to the Preset dropdown is a ... button. Open it for preset actions.
Full Menu Options
From the ... menu you can Save, Save as New, Rename, Duplicate, Set as Default, or Delete. Duplicate is great when two clients share 90% of settings — clone and tweak.
Meta Ads: Upper Third Position
The built-in Meta Ads preset places captions in the upper third so they stay clear of the bottom UI overlays on Facebook and Instagram.
Fast Preset for Speed
If you just need captions on screen fast, switch to Fast. It uses word-by-word grouping and keeps phrasing and emoji enabled while skipping anything that slows down the render.
Wrap Up
Save one preset per client, one per format, and Auto Captions becomes a one-click tool. The ... menu gives you full control — rename, duplicate, delete, and set defaults as your workflow evolves.
Try Auto Captions for After Effects →
Also part of Pack Manager: Pack Manager - AEJuice